


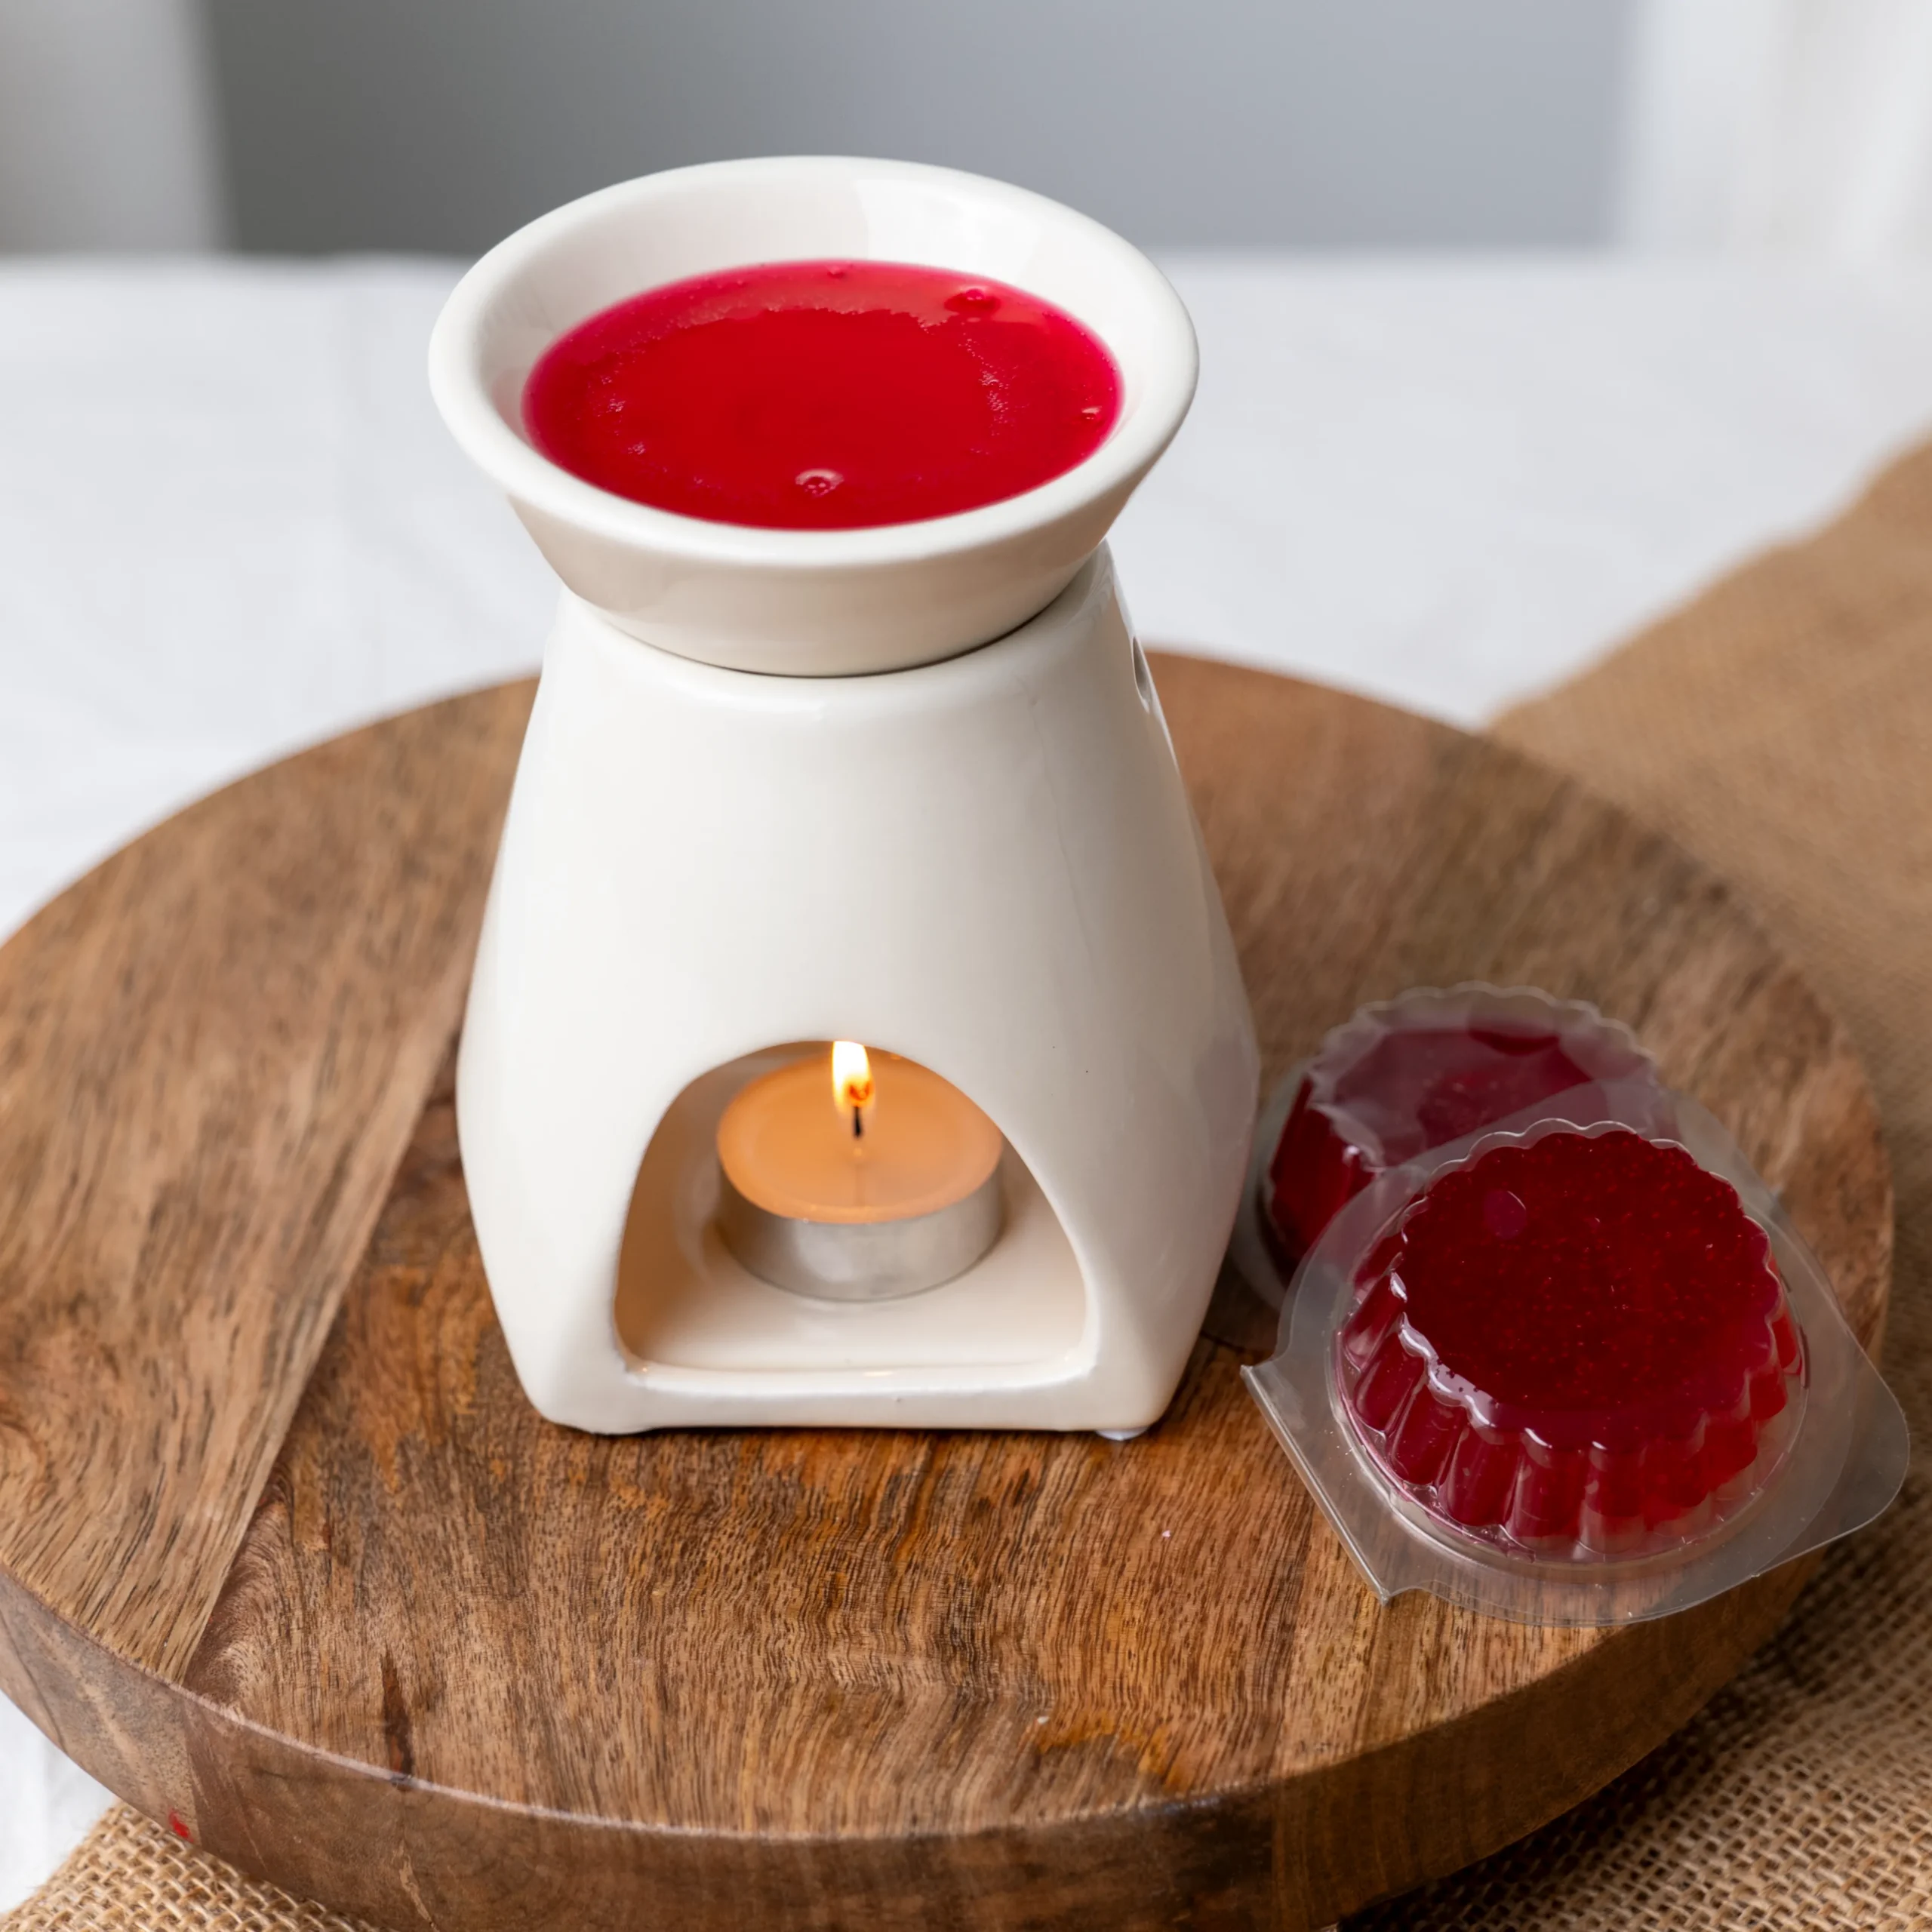

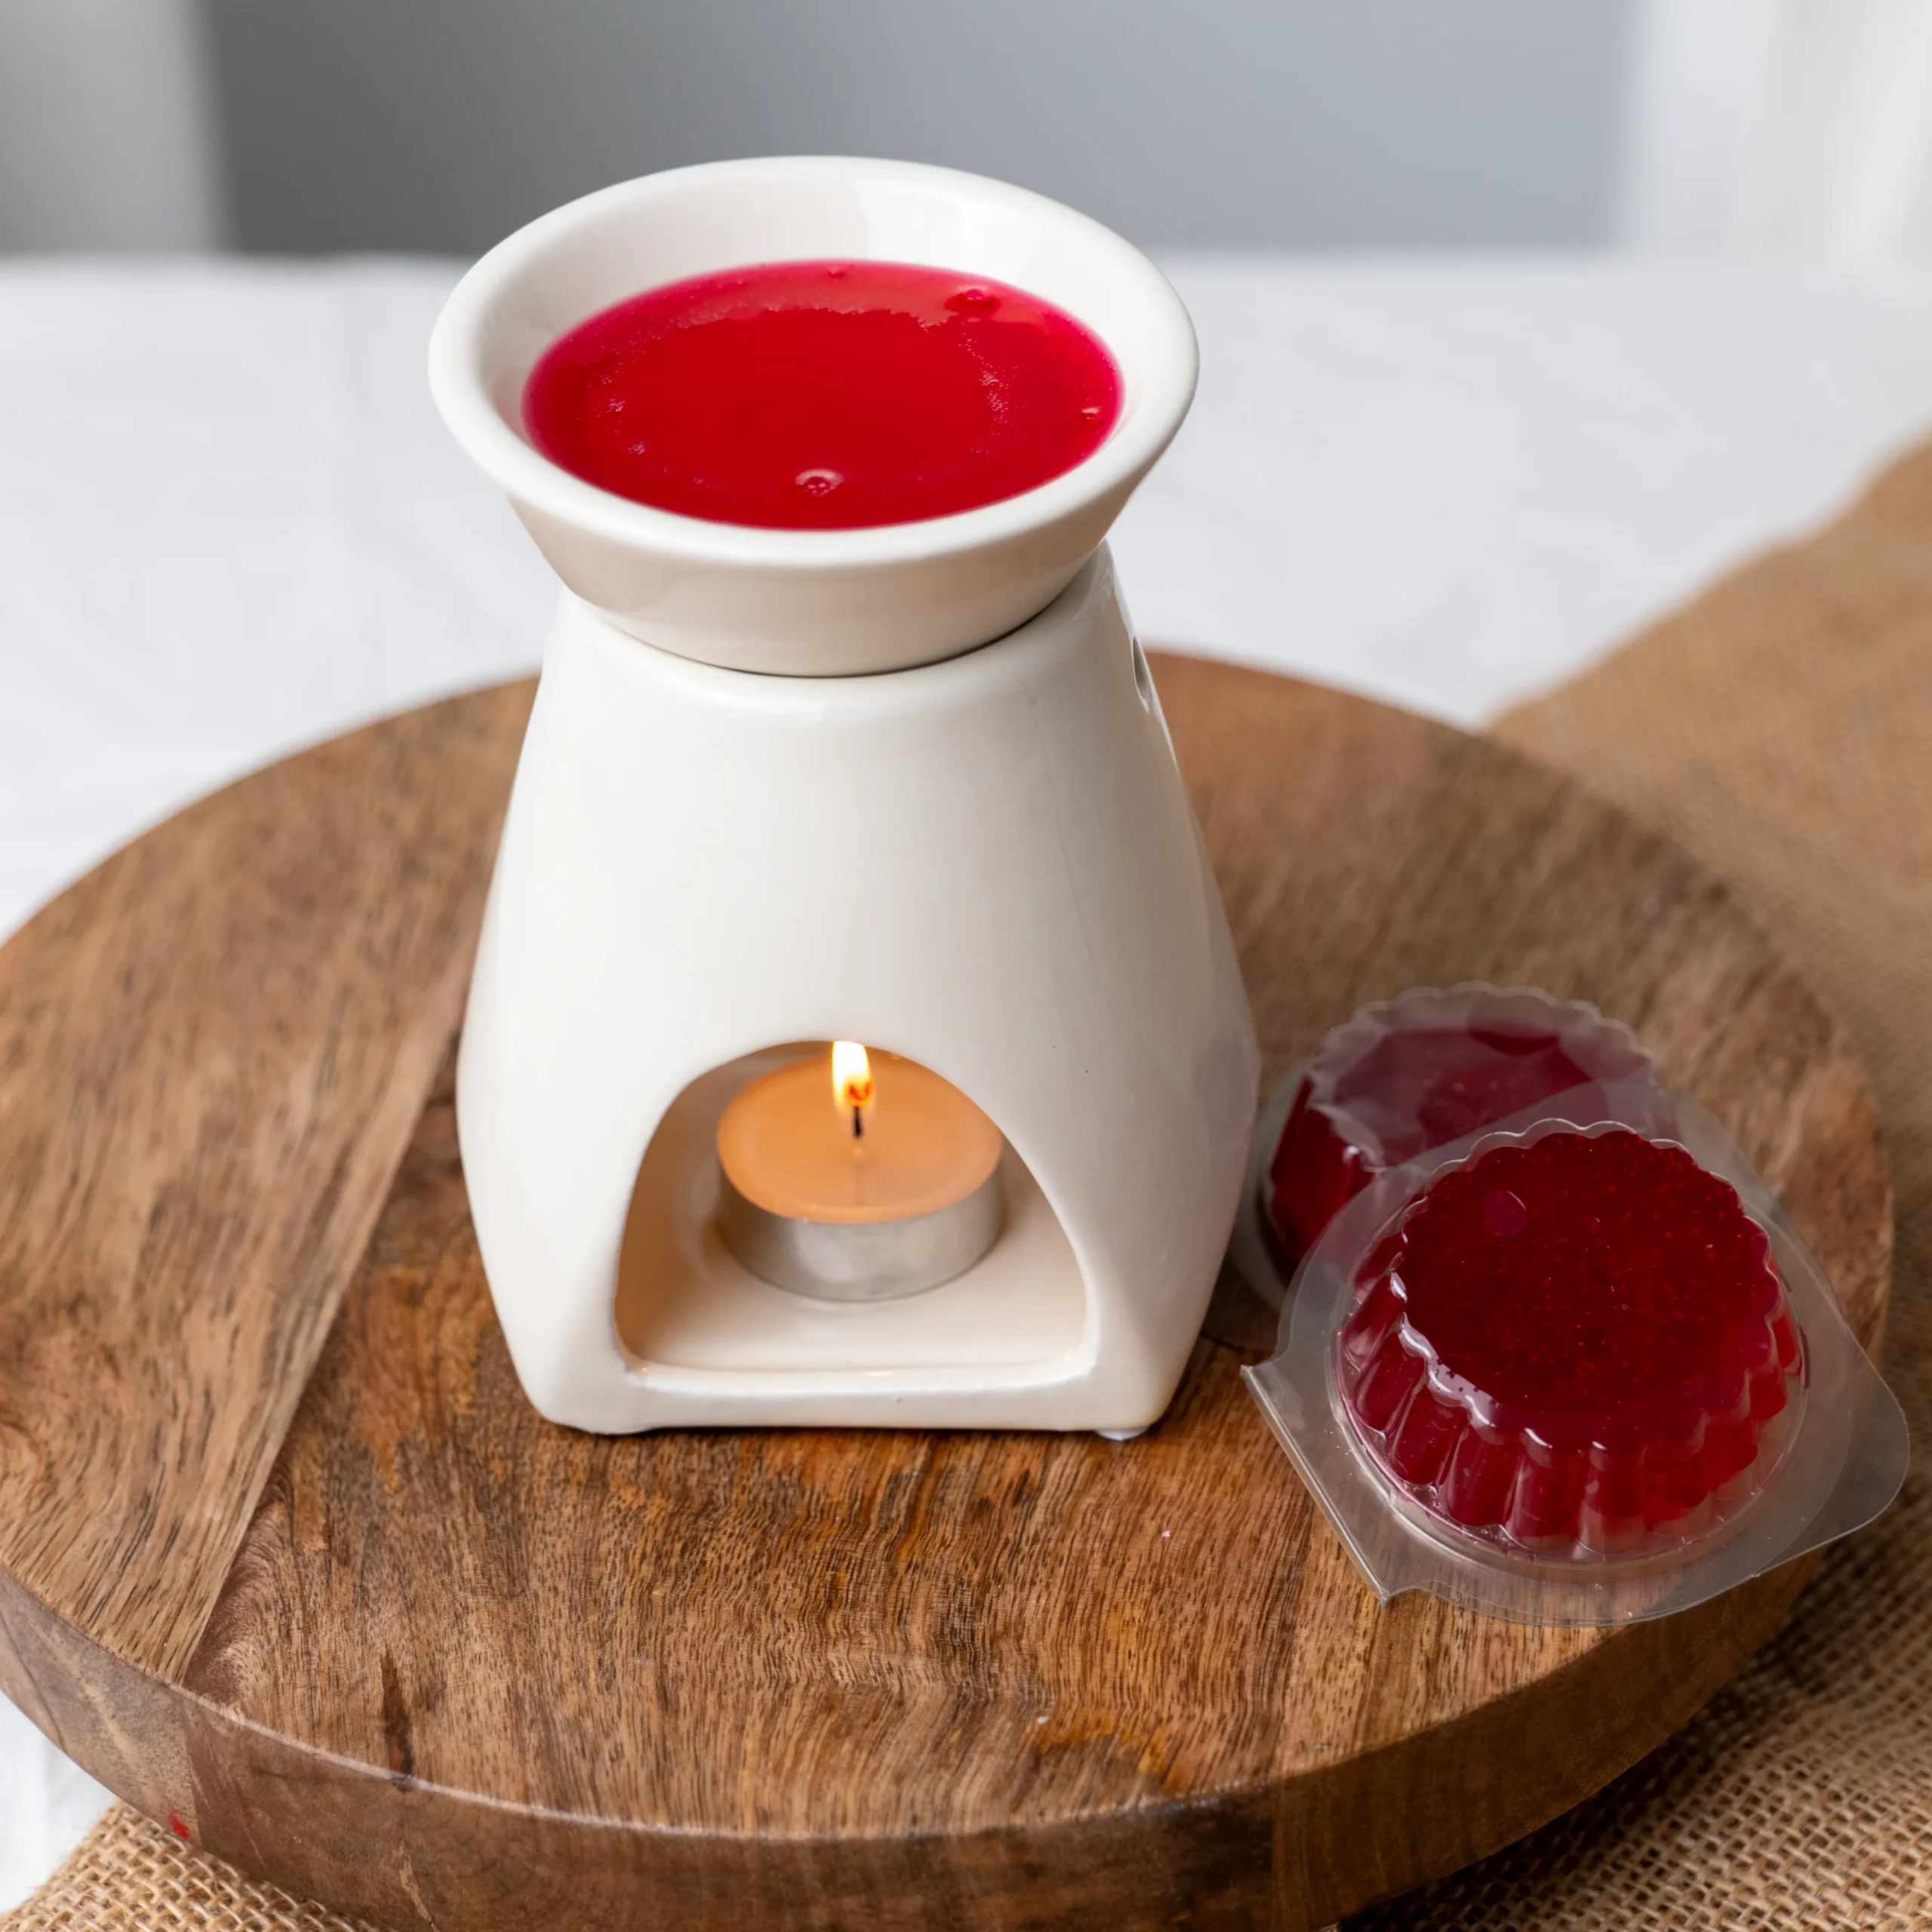
Discover how to make beautiful crystal-clear gel wax melts with our easy step-by-step guide. Learn how to melt, colour and fragrance gel wax, along with expert tips for achieving a smooth finish and creating eye-catching designs.
30 Minutes
Time to Complete
beginner
Difficulty
 | £9.00 – £130.00Price range: £9.00 through £130.00 ex VAT | Quantity Max: Min: 1 Step: 1 | |||
| £2.20 – £100.00Price range: £2.20 through £100.00 ex VAT | Quantity Max: Min: 1 Step: 1 | |||
| £1.50 – £230.00Price range: £1.50 through £230.00 ex VAT | Quantity Max: Min: 1 Step: 1 | |||
| £1.75 – £122.90Price range: £1.75 through £122.90 ex VAT | Quantity Max: 100 Min: 1 Step: 1 |
- Digital scales
- Heatproof pouring jug
- 1.7 L Wax Melter
- Thermometer
- Stirring utensil
- Protective gloves
| Ingredients | SKU | Percentage (%) | Measurements (g) |
| Gel Wax | WAX015 | 94% | 200g |
| Thai Lime & Mango | FRAG0139V2 | 6% | 12g |
| Pink Liquid Candle Dye | LDYE007BT | – | As desired |
| Tarte Deli Pot | CLAM09 | – | 6 |
This recipe makes 6 x Tarte Deli Pot
Step 1: Melt the Gel Wax
Cut the gel wax into smaller pieces and place it into a heatproof pouring jug.
Using a double boiler, slowly heat the wax until it reaches approximately 95–100°C. Stir gently as it melts, taking care not to introduce air bubbles.
Avoid overheating the wax, as this can reduce its clarity.
Step 2: Add Colour (Optional)
If you’d like coloured gel melts, add a small amount of liquid candle dye.
Because gel wax is transparent, only a tiny amount of dye is needed. Start with a single drop and gradually build the colour until you’re happy with the result.
Step 3: Add Fragrance
Allow the gel wax to cool slightly to around 90°C before adding your fragrance oil.
A fragrance load of around 3–6% is generally recommended, although you should always check the maximum recommended usage for your chosen fragrance oil.
Stir gently for around one minute until fully combined.
Step 4: Pour into Your Moulds
Slowly pour the gel wax into your silicone moulds.
Pouring slowly helps minimise air bubbles and keeps the gel beautifully clear.
If small bubbles appear on the surface, allow them to rise naturally before the wax begins to set.
Step 5: Leave to Cool
Leave the melts undisturbed at room temperature until completely set.
Avoid placing them in the fridge, as rapid cooling can affect the clarity of the gel.
Depending on the size of your moulds, this usually takes several hours.
Disclaimer
Gel wax reaches much higher temperatures than traditional waxes, so always heat it gently using a double boiler and never directly on a hob or flame.
Always work in a well-ventilated area and wear appropriate protective equipment.
Tips for the Best Results
- Heat slowly to maintain crystal-clear transparency.
- Stir gently to avoid creating bubbles.
- Don’t over-colour the gel, as this reduces clarity.
- Use high-quality fragrance oils for the best scent throw.
- Allow the melts to cool naturally at room temperature.
Decorative Ideas
One of the biggest advantages of gel wax is its transparent appearance, making it ideal for creative designs.
Try adding:
- Cosmetic-grade biodegradable glitter
- Coloured gel wax layers
- Wax embeds
- Mica-painted decorative tops
- Seashell-inspired designs
- Ocean-themed colours
Avoid adding dried flowers, leaves or other flammable decorative materials if the finished product will be used in a wax warmer, as these may present a fire hazard.
Can I use any fragrance oil?
Most fragrance oils suitable for home fragrance products can be used, but always check the recommended usage levels and compatibility before adding them to gel wax.
Why is my gel wax cloudy?
Cloudiness is usually caused by overheating, stirring too vigorously or using incompatible colourants.
Can I remelt gel wax?
Yes. Gel wax can be carefully remelted if needed, provided it hasn’t been overheated.
Can I use essential oils?
Some essential oils may not perform well in gel wax. Fragrance oils generally provide a stronger scent throw and better compatibility.